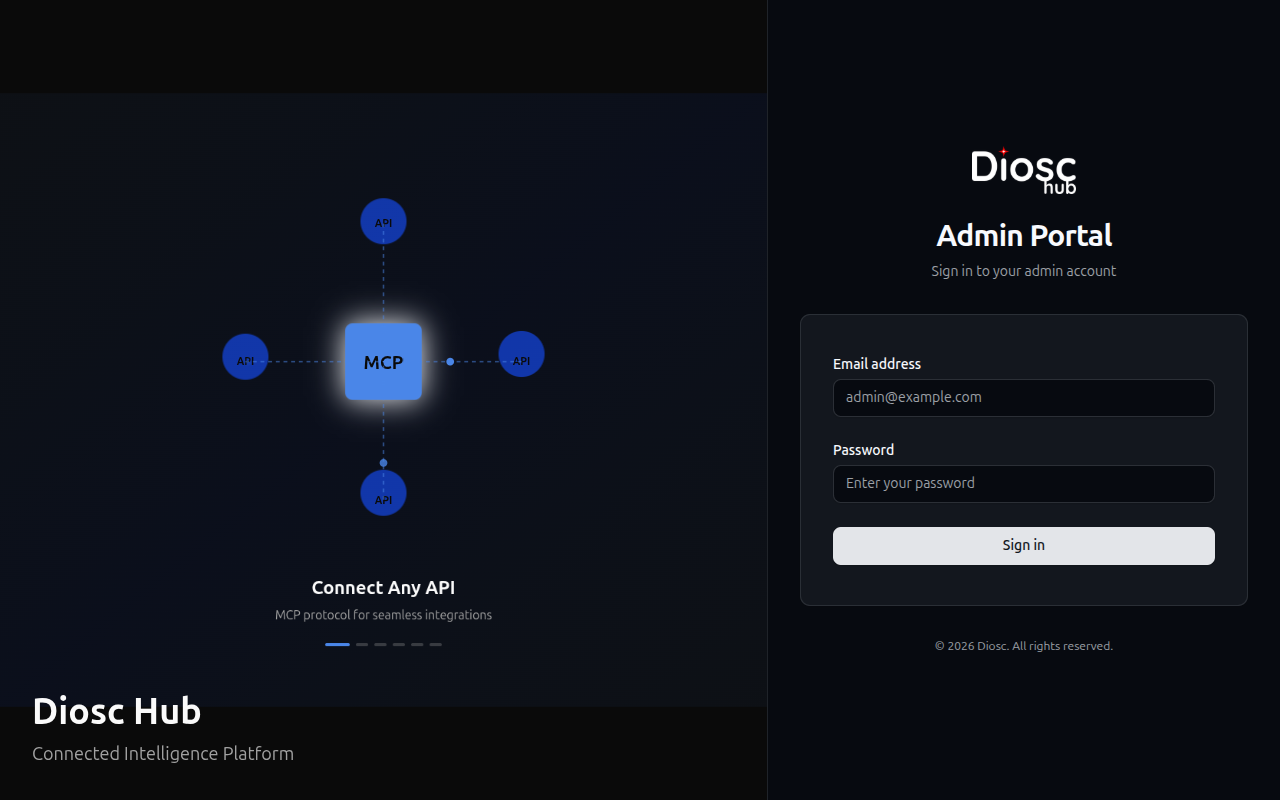
Admin Portal
The Admin Portal is where you configure and manage DioscHub assistants, MCP servers, knowledge bases, users, and system settings.
Accessing the Portal
The Admin Portal runs as a separate application. By default it is available at:
http://localhost:7001
In production, your administrator will provide the portal URL. You need admin credentials to log in.
Dashboard
After logging in you see the main dashboard with deployment metrics and trends.
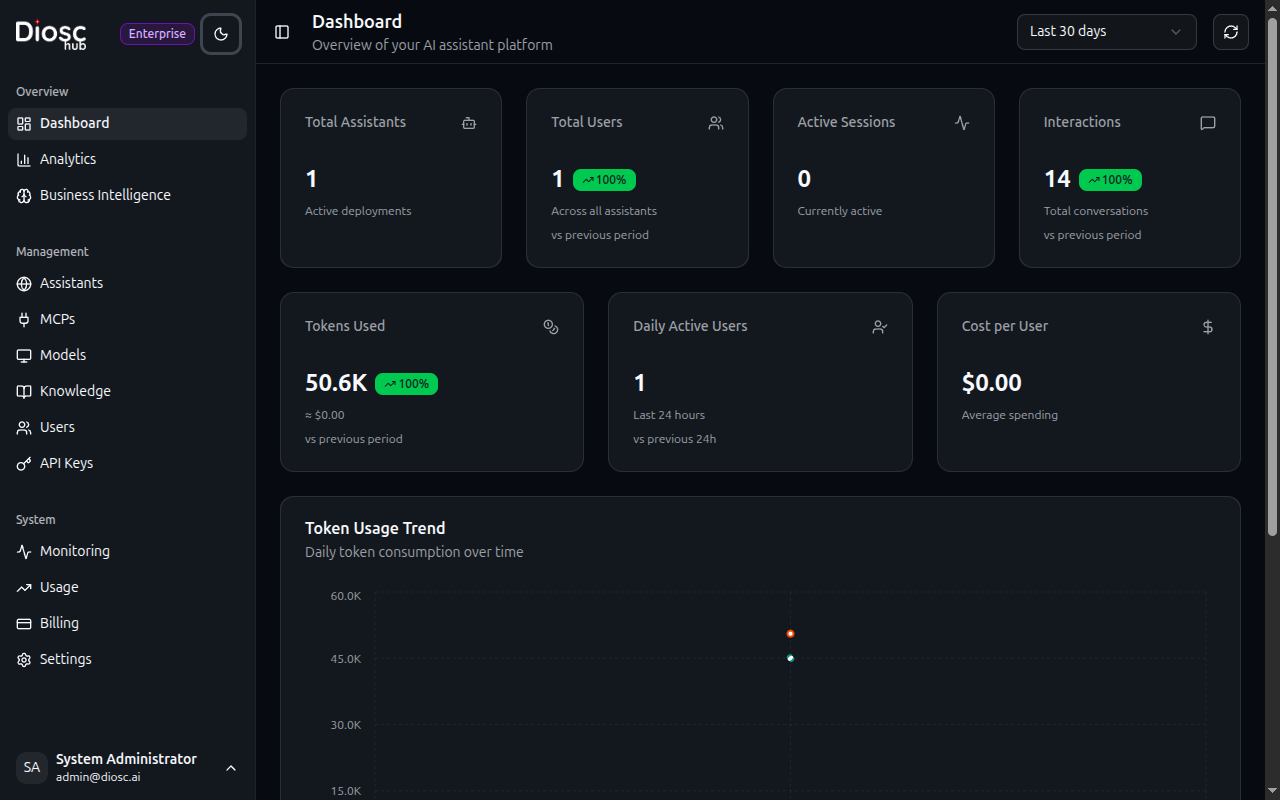
See Dashboard for full details on metrics and charts.
Navigation
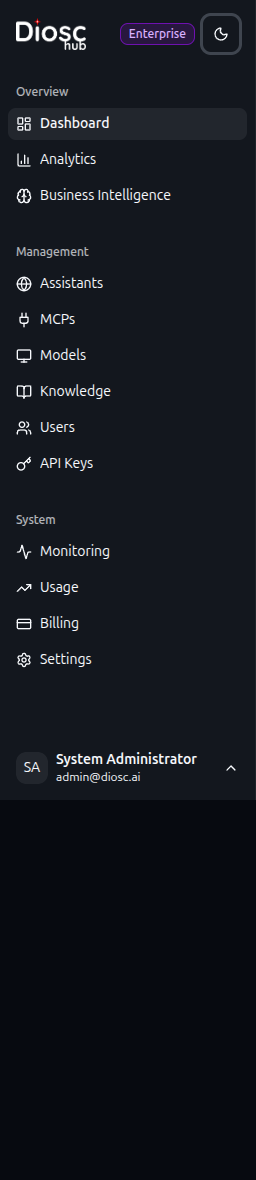
The sidebar is organized into three groups:
Overview
| Section | Description |
|---|---|
| Dashboard | Deployment metrics and trends |
| Analytics | DAU timeline, error rates, peak hours, response times |
| Business Intelligence | Topic analysis, knowledge gaps, adoption metrics |
Management
| Section | Description |
|---|---|
| Assistants | Create and configure AI assistants |
| MCPs | Manage MCP server instances |
| Models | LLM model catalog and provider credentials |
| Knowledge | Knowledge bases and documents for RAG |
| Users | Manage portal users and permissions |
| API Keys | Manage API keys for programmatic access |
System
| Section | Description |
|---|---|
| Audit Logs | Administrative action history |
| Usage | Token usage dashboards and billing |
| Data Privacy | GDPR erasure tools and PII search |
| Config Transfer | Export and import configuration between environments |
| Settings | Resource pricing, rate limits, Vision AI, BI config |
Per-Assistant Configuration
Several features are configured per assistant under the assistant's Settings tabs:
| Feature | Documentation |
|---|---|
| Sitemap | Navigation paths and placeholder resolvers |
| Roles | Role-based AI behavior |
| Approval Policies | Tool approval workflows |
Common Workflows
Setting Up a New Assistant
- Go to Assistants → Create New
- Set the name, greeting message, and select a model
- Configure the System Prompt to define personality
- Fine-tune Model parameters
- Set up Authentication and CORS
- Connect MCP tools via the Plugins tab
- Define your app's Sitemap
- Configure Roles for user-specific behavior
- Set up Approval Policies for sensitive tools
Connecting a New MCP Server
- Go to MCPs → Create
- Enter the instance name, display name, and SSE URL
- Test Connection to verify connectivity
- Browse discovered Tools and configure settings
- Configure approval settings for sensitive tools
Adding Knowledge to an Assistant
- Go to Knowledge → Create
- Enter a name and description for the knowledge base
- Upload files (PDFs, documents, spreadsheets)
- Wait for files to finish processing (status: Ready)
- Open the assistant's settings → Knowledge tab
- Link the knowledge base to the assistant
- The assistant can now search these documents during conversations
Monitoring Your Deployment
- Check the Dashboard for overall health
- Review Analytics for usage patterns
- Check Usage & Billing for cost trends
- Open Audit Logs to review administrative actions